Back again, this is a fun weekend project I started doing. This started off helping my nephew in 10th grade and kind of grew into something fun and cool withing with @Shubham Sinha and @Ratnantali Sinha to develop this solution. In this 3 part series we are going to look at setting up a RasberryPi with a few environmental sensors (Enviro+) by Pimoroni, how to setup Azure IoT Hub and send data to Azure and then consume data via Cosmos DB and PowerBi to create a cool little dashboard.
In this part we will look at setting up the RasberryPi and the sensor board Enviro+ by Pimoroni. We will break this post into 2 parts.
- RasberryPi install and setup
- Enviro+ Sensor and Particle Mater (PM) Sensor
Before we get into in to it , lets quickly talk about the components which were purchased and where we got them from and why. Most of the componants purchased was from Pimoroni’s website whom developed the Enviro+. Below are the parts components we need for this project and the link for them:
- Rasberry Pi Zero WH[MS1] .
- Enviro + Air Quality for Rasberry Pi
- PMS5003 Particulate Matter Sensor
- HDMI-C to HDMI Convertor
- Micro SD Card[MS2]
- Micro-USB Male to USB-A Female OTG
The RasberryPi Zero WH, is a cutdown version of the traditional RaberryPi 3, it has a smaller CPU and RAM and great for a single purpose automation like this, however saying that to add more features like a MySQL DB or a GPS module, we may consider upgrading to a Raspberry Pi 4.
The Enviro+ and the PM sensor is a great all in one sensor system capable to measure air quality (pollutant gases and particles), temperature, pressure, humidity, light and noise level, the purpose of this was to setup a system to monitor the air quality across my state in different environments, from open empty mountains to the hustle and bustle of the CBD. The Enviro+ is compact and portable solution and provides a very accurate reading.
All in All I think the whole kit costed me ~150 AUD, which is not a bad price for what I am getting.
Setup the RasberryPi.
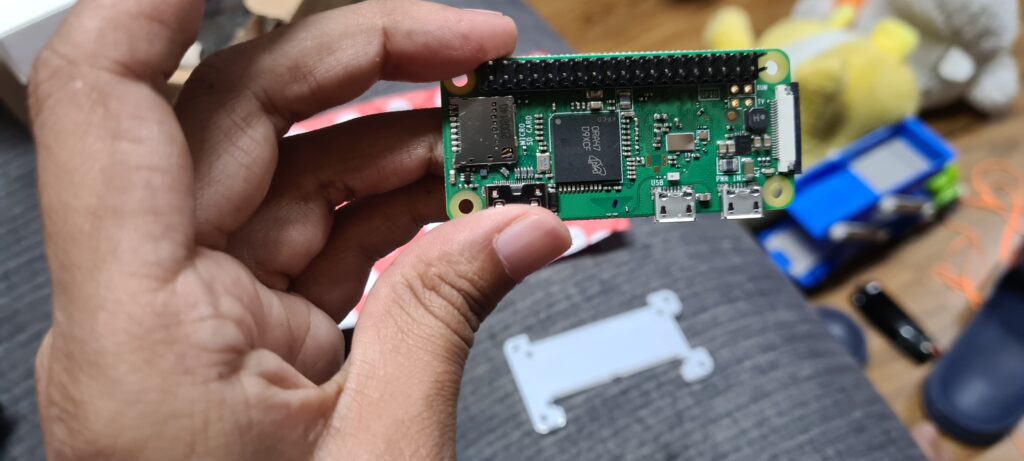
Setup of the Pi has become soo easy over the years. To setup the Pi we can download the Pi Imager software. To download the imager software https://www.raspberrypi.org/software/ and run this locally.
Run the imager software. Select the OS you wish to install, For this we went for the OS Full with recommend applications. This version provides a easy to use GUI interface and also the base Python libraries to get started.
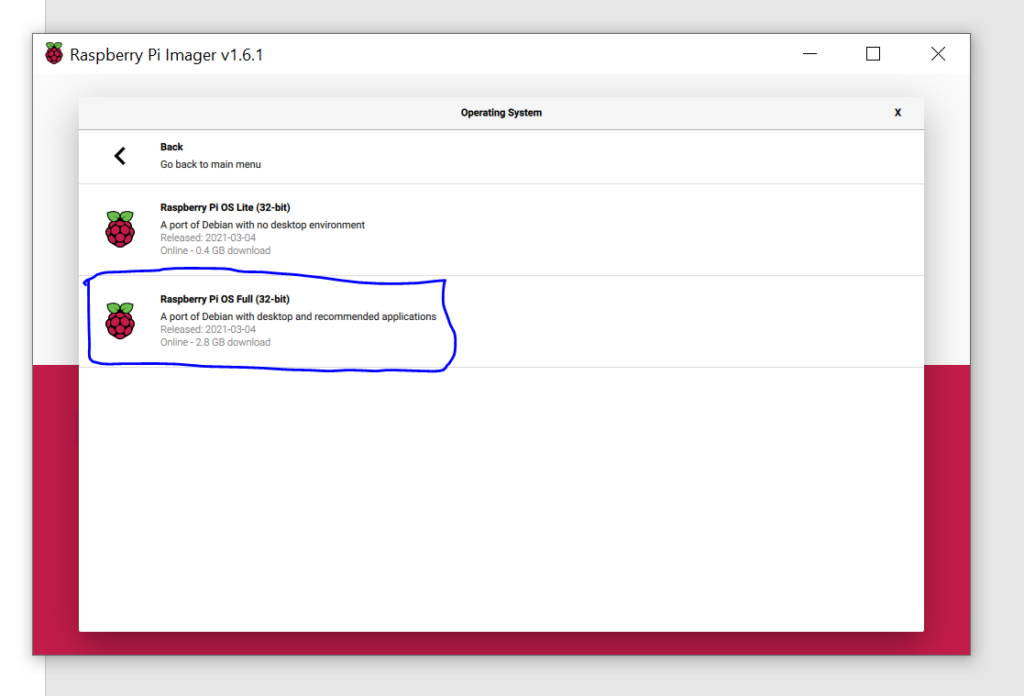
Select your SD Card to install on and let the install happen.
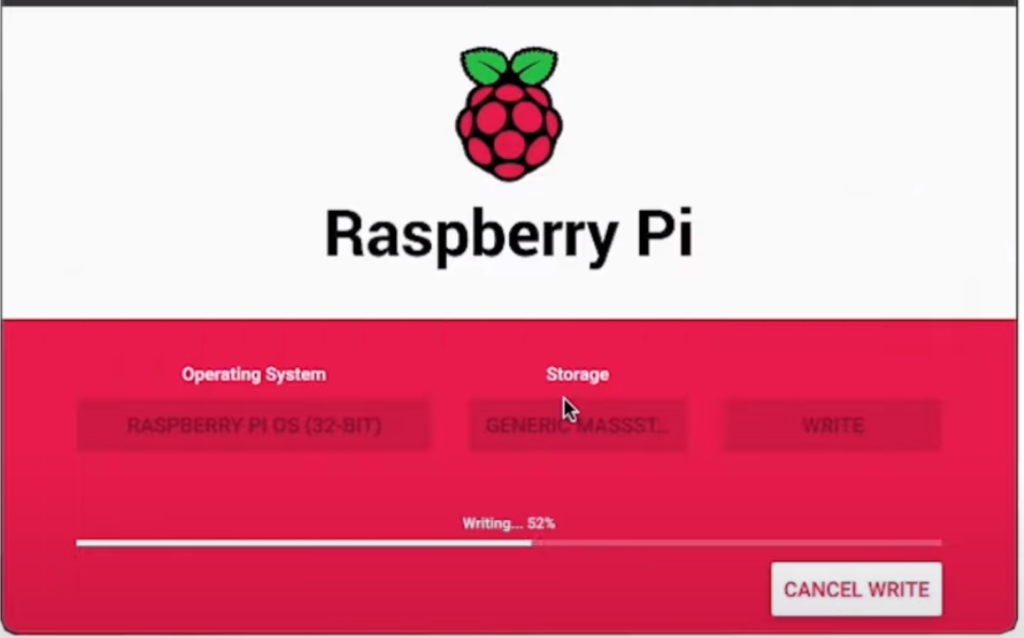
Once finished, pop the SD Card into the RasberryPi connect the HDMI and a USB Keyboard and Mouse and start it up:
Once in, run through the setup, enabling WiFi, SSH and VNC to make it capable to work remotely:
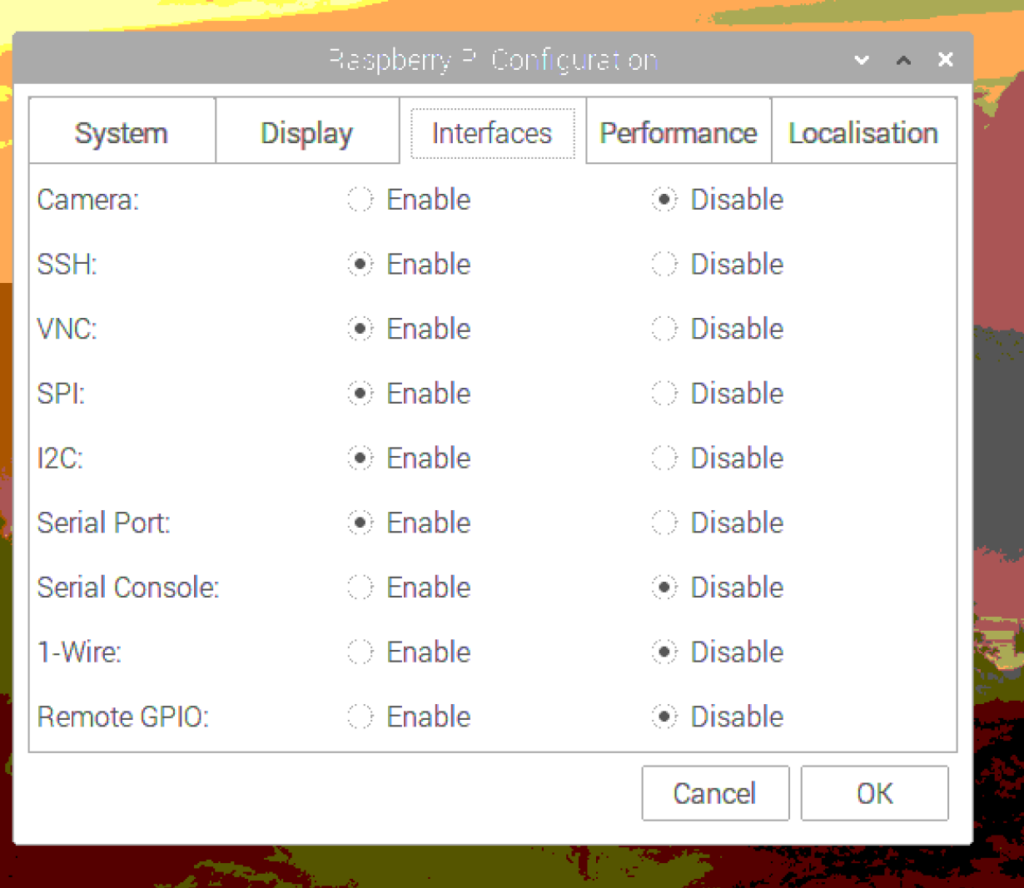
Now we have our RaspberryPi ready to setup the Enviro+.
Setup Enviro+ and PM on RaspberryPi
To setup the Enviro+ we will follow the provided tutorial which can be found here. To start off with we will pull down the prebuilt module from github and install the setup files, this will install the base Python modules and other configurations to setup the RaspberryPi board.
git clone https://github.com/pimoroni/enviroplus-python
cd enviroplus-python
sudo ./install.sh
Once installed, we will power off the Pi and wire up the Enviro+ to the Pi. As per below, we will wireup the Enviro+ board onto the Pi’s 40 Pin GPIO, and the PM to the sensor board.
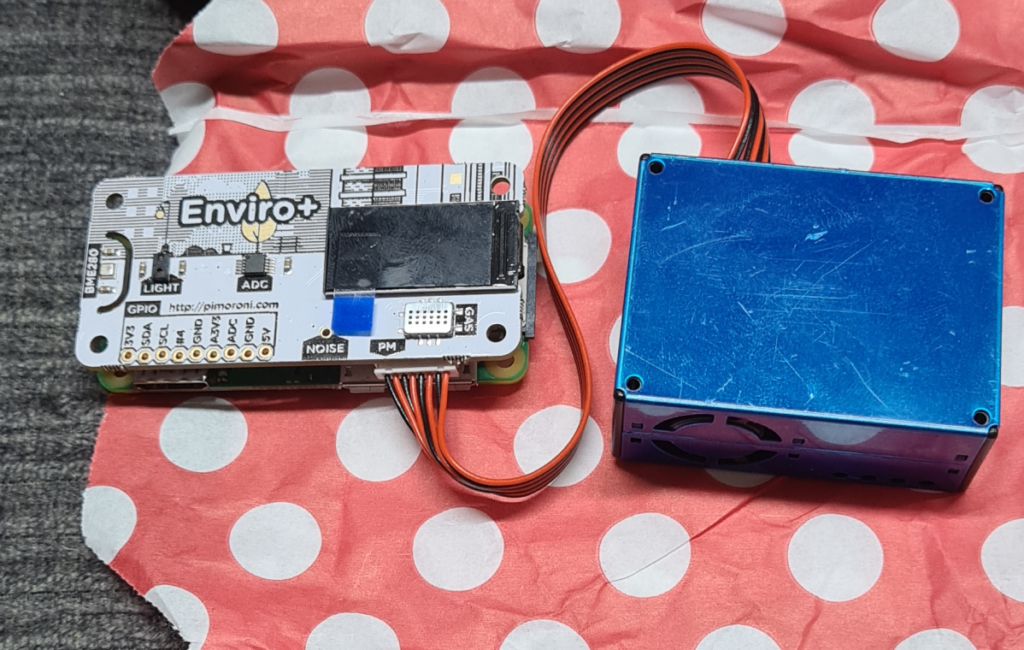
And we power it on. Once in the OS to test this we will try use some of the prebuilt python examples, if you want a full list of all the python scripts you can find it here. To test with we will run the script combind.py. I have chosen this script as it provides an output of all the senors that are available both as a log on the console but also on the LCD display. Soo if all works as expected you should get on your LCD screen an output of the sensor data:
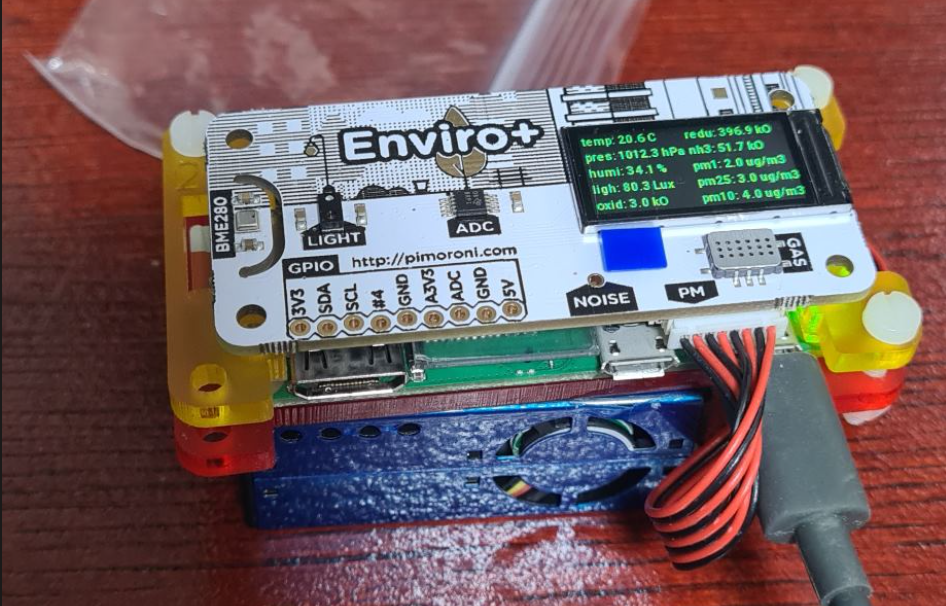
Now we have our basic Pi giving us data, our next step is to setup our Azure Subscription and PowerBi Workspace to capture this data and present it. In Part 2, we will look at setting up Azure IoT Hub and Data Stream.
This project and blog was a collaboration between @Ratnanjali Sinha and @Shubham Sinha


